First Launch and Configuration
First Launch and Accept Terms
Section titled “First Launch and Accept Terms”After install (and restart, if prompted), Docker Desktop launches automatically. If it does not, open the Start menu → search Docker Desktop → launch it.
- You will see the Docker Subscription Service Agreement — click Accept (required; do not click Close)

Personal/small-business use is covered by the free tier. The notice about 250+ employees or $10M revenue only applies to larger organizations.
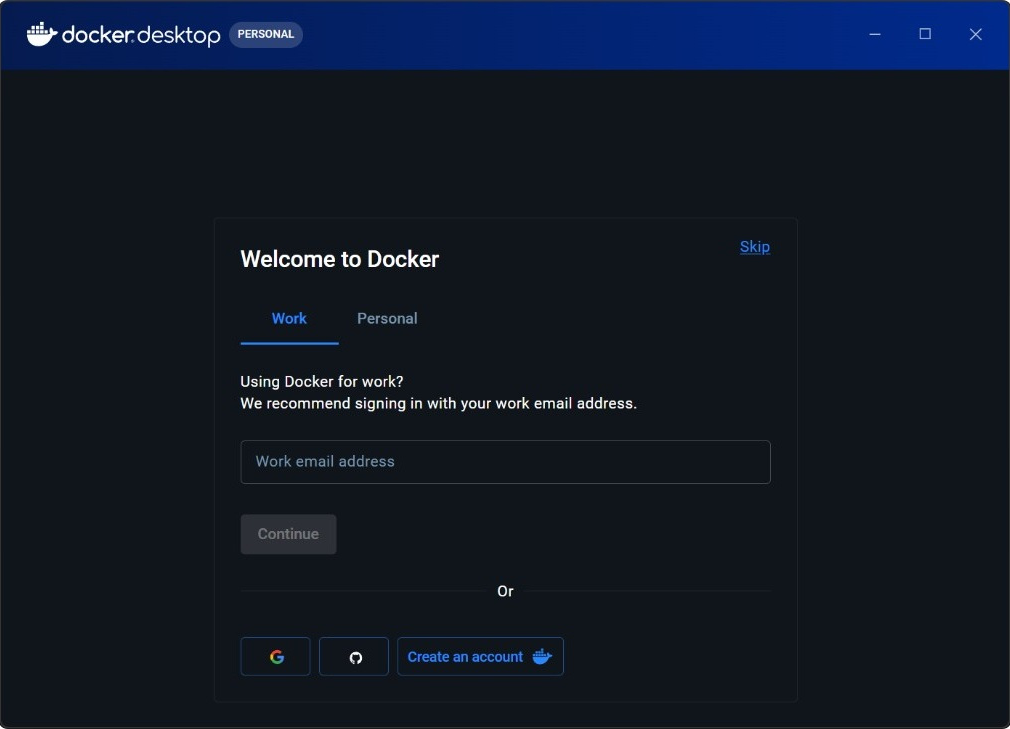
- Welcome to Docker — click Skip (top-right). Signing in is not required for this guide.
-
Wait for the engine to start. The whale icon appears in the system tray (bottom-right; click
^if hidden) -
When ready, Docker Desktop shows Engine running or Docker Desktop is running
Still starting? First launch can take 1–3 minutes. Do not proceed until the whale icon stops animating.
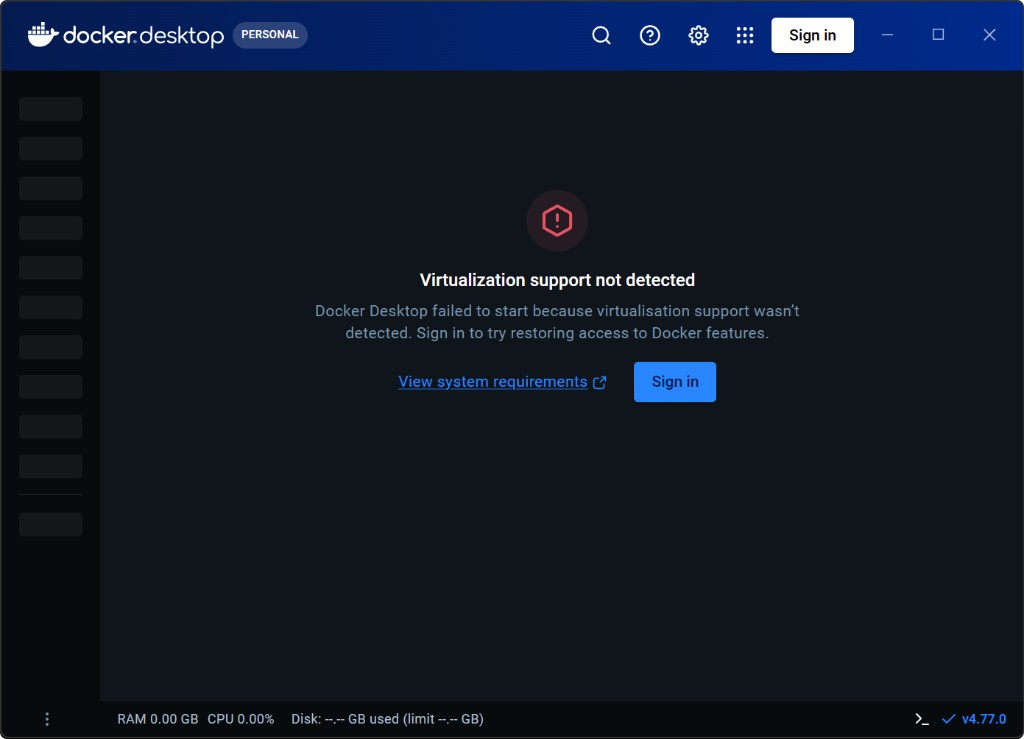
If you see “Virtualization support not detected”:
Docker Desktop cannot start because hardware virtualization is off in BIOS/UEFI (or blocked by firmware policy). Signing in does not fix this — enable virtualization in the BIOS Virtualization step, restart Windows, then launch Docker Desktop again.
Confirm WSL 2 Engine in Settings
Section titled “Confirm WSL 2 Engine in Settings”-
Open Docker Desktop (whale icon → Dashboard, or Start menu)
-
Click the gear icon (⚙️) top-right → Settings
-
Open General
-
Confirm Use the WSL 2 based engine is checked
- If you change this setting, click Apply & restart and wait for Docker to come back online
- On some Windows 11 systems this is already enabled and greyed out — that is fine
-
Close Settings
WSL distro integration is not configured here. After you install Ubuntu in the WSL2 Linux Distribution section, return to the Docker WSL2 Integration page to enable Resources → WSL Integration for your distro. Until then, only Windows-side
dockercommands will work.